
Sending faxes from your email address is easy, and really convenient!
- No more printing documents just to fax them;
- No waiting for the fax machine to clear before you can use it;
- Send faxes from your mobile phone email client;
- No need for a fax machine at all!
Our system's 'successful' confirmation message gives you the same, secure confirmation that the fax has been delivered, as a 'standard' fax machine.
How does this work?
You send an email, containing an attachment as the fax content, to our service, by emailing 'phone_number@fax.cloudpbx.ca'. Our system takes that email, identifies who you are by checking your email address, identifies your destination by checking the 'to' address, and then sends your attachment as a 'good old fax' call. The machine on the other end has no idea you just emailed the fax.
We can authorize entire email domains, as well as individual addresses, so please let us know if you would like this option configured for you. This permits everyone in your organization to send email-to-fax messages in one step.
When sending faxes, you'll want to be sure that the cover page appears as you want it to - following the directions below will make this easy.
Attachments as the fax body:
- If you send a message in PLAIN TEXT then the body of the email will be placed into the body of the cover page.
- If you send a message in HTML, the body of the email will be reproduced on a separate page and will be treated as an attachment.
- Lastly, if you send a message in PLAIN TEXT and in HTML then the HTML portion will be ignored - and the email will be considered as PLAIN TEXT.
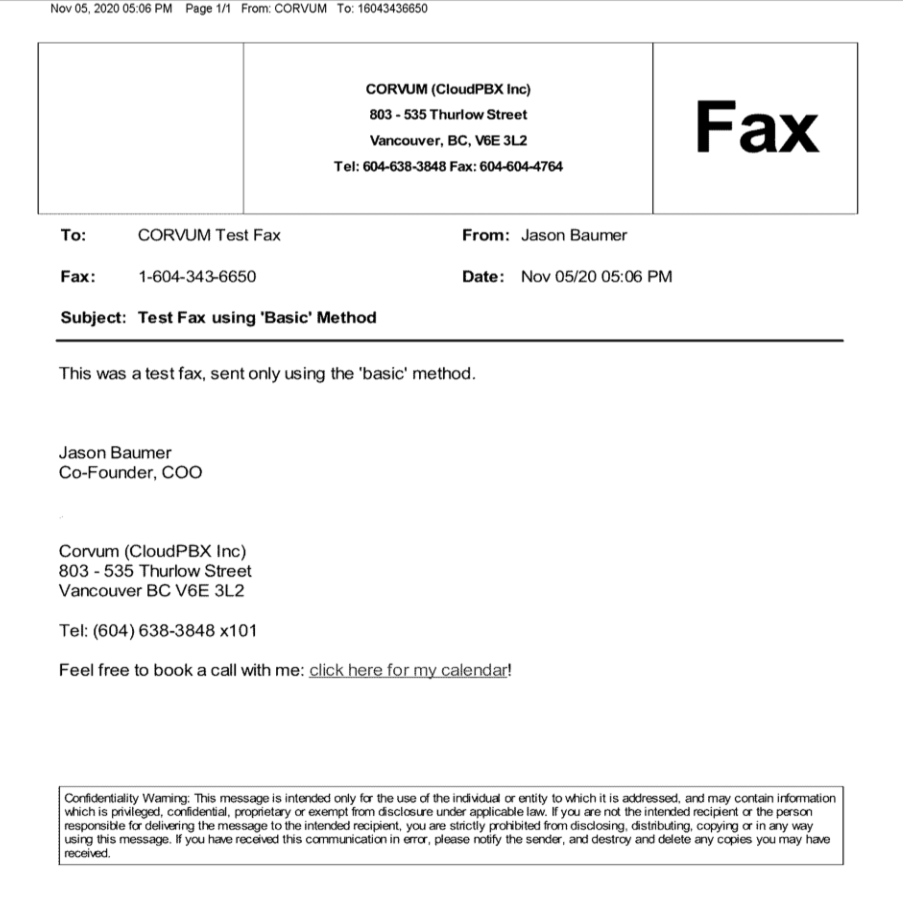
- The 'basic' method will insert some default information into the cover page, and is what most people use 99% of the time.
- The 'custom' method lets you customize what appears in the cover page by adding arguments to the email's SUBJECT heading.
1) Only authorized email addresses can successfully send an email fax.
"To Name" <DEST_FAX_NUMBER@fax.cloudpbx.ca>
The example used in this test fax:
"CloudPBX Test Fax" <16043436650@fax.cloudpbx.ca>
5) The 'From' field on the cover page is populated with the 'from' information provided by the sender's email account.
1) All notes above remain the same. This method lets you adjust what shows up in the cover letter. Perhaps the most useful of these custom settings is changing the language of the cover letter (in this example, to French).
To override the default settings you can use the following parameters to send a fax with custom cover page information. These parameters must be sent in the SUBJECT heading of the email, and separated exactly as indicated in the test below. This is essentially 'code' and an error in syntax will bring unexpected results.
Custom parameters:
To=Name Of Recipient
From=Name of Sender
Co=Company Name
CP=B,S,C,P,Blank or N (Basic, Standard, Company, Personal, Blank Page or Force No Cover Page)
AC=Account or Billing Code
Retries=Number of times we are to retry sending the fax - 0 - 6 times (default is 6)
Pass=Your Password
Sub=Subject Of Your Fax
cpl=fr (To change the cover page language to French)
The example, used in the attached test:
---------------------------------------------
In the 'To' email field:
---------------------------------------------
To=Support Staff / From=QA Staff / Co=CloudPBX2 / Sub=Test Fax 'Advanced' / cpl=fr
---------------------------------------------
Further detail on how best to handle multiple recipients:
The auto-generated cover page only works with one destination, since the system does not generate a cover page that includes all destinations in the 'to' field. A unique cover page needs to be included as the first page in that PDF attachment.
Depending on how you intend to present the fax to your recipients, here is how we suggest the fax be prepared:
1. When you wish to send it to multiple recipients, and to include all recipients on the cover page:
- Create a cover page PDF that includes all recipients and other relevant information;
- Assemble the rest of the fax body as per usual;
- Merge the entire fax, including the cover page, into one PDF - ensuring the cover page is on page 1 and the rest is in the desired order;
- Email this single attachment to multiple recipients. Anything you include in the body of this email is discarded.
2. When you wish to send it to multiple recipients, but provide a unique cover page to each of them:
- You do not need to create a cover page PDF - you can use the body of the email to generate the cover page;
- Simply send one fax email to each unique recipient;
- It is best to send a single PDF attachment in each fax, as per usual.
Comments
0 comments
Article is closed for comments.